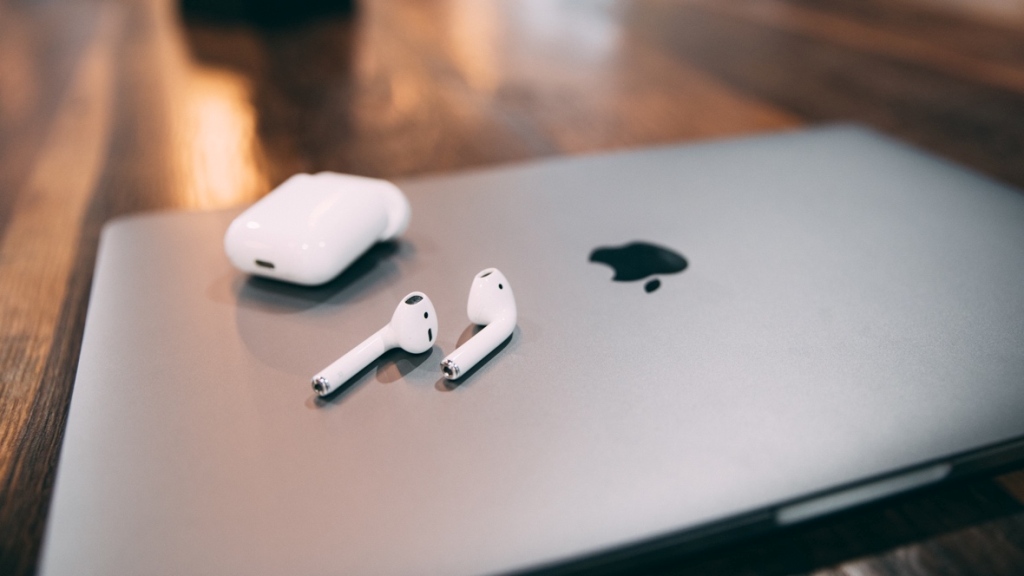
If you own a pair of new AirPods and are wondering how to connect them to your MacBook, then there is no reason why you can’t. Instead of having them locked to your iPhone, you can connect them to other devices.
Yes, they can work with the iPad and MacBook as well. Though the process is slightly difficult, it is not impossible to do. You do not need to well-versed in system technology to figure it out. We are here to help you out with that.
That is what we will be discussing about in this post. We will find out how you can easily connect your brand new AirPods to your existing MacBook. The good news is that once you have paired it to your MacBook, all your details are synced to the devices.
Your details are saved on the iCloud account. Please note that it is shown on the volume control when you have paired your headphone with your iPhone. You can also find it on the Bluetooth menu.
Of course, you have to use the same Apple ID on your MacBook device and enable Handoff. When you have done that, then you can also use your AirPods with Windows PCs and Android devices.
Things that you would need
You will need the following to be able to connect your MacBook with your AirPods.
- You will require a recent model of the MacBook. The new M1 models are fantastic choices because they come with all the latest OS and specifications.
- It would help if you made sure that the model comes with the higher or macOS X 10.15.1 Catalina.
- However, if you are using the latest AirPods, then you would require a higher or the macOS X 10.14.4 Mojave.
- Likewise, for the original AirPods, you can use the macOS X 10.12 Sierra.
How to connect your MacBook with your AirPods?
Now, we come to the main part of our post. This part is when we will learn how to connect your MacBook with the AirPods. We just want to let you know it is pretty simple, and very soon, you will be connected with wireless sound.
- You have to click on the Apple menu that is present on the left side. Then you have to choose the system preferences. The system preferences option is just below the Apple menu, in case you were wondering.
- The second step would be to activate the Bluetooth on your MacBook. You can find that option in the system preferences itself. Then you have to click on the turn Bluetooth on option found there. Sounds familiar?
- Remember to have this window open for the remainder of the process until you have connected with your AirPods.
- Now, you can take your AirPods from the charging case. Always remember to store them in there, or you will misplace them. Please keep this in mind. You can carefully open the lid and take them out.
- You have to press the setup button to find the case till they begin to blink. You may be knowing that. Anyways, when you do that, you can find the AirPods option appearing on the Bluetooth window that is still open on your MacBook.
- The last step is to click on the connect option. You can use the connect option that is found on the Bluetooth preferences window.
Now, your AirPods are connected to the MacBook. You can use your device to listen to music effortlessly. We might want to mention that if you have connected the AirPods to your iPhone, you can use the same iCloud account.
There is no need for you to create another iCloud account. Once you have completed these steps, there is no need to start all the way from the beginning. That is correct. The next time onwards, you need to place the AirPods inside your ears use the Bluetooth menu.
You need to click on the AirPods option and click on the connect option. We might want to add that connecting with your MacBook might not be smooth because of the connectivity. In that case, you will want to make use of third-party apps to connect quickly.
We recommend AirBuddy, which costs around $5 per month. You can know the status of your headphone connection using the charging case. Besides, you can connect your AirPods using a single click.
Moreover, you can also consider using the ToothFairy app, which will cost around $4.99. Using the menu bar, you can simply click on your MacBook.
Points to remember
- If you want to use the Bluetooth option, you need to use the press button. The button is on the carrying case.
- You will want to use the AirPods present on the Bluetooth menu and then use the connect option.
- You can connect to two AirPods to your MacBook. You just need to follow the steps that we have mentioned.
- Please ensure that your AirPods are fully charged before you use them.
- Always make sure that your MacBook is completely charged.
Conclusion
There you go. It does not have to be that difficult to connect your AirPods to your MacBook. Though it might seem challenging at first, you will get used to it. Please follow the given steps, and you should be able to get your way through.
Also check: How to Connect Airpods to iPhone?
Also check: How to Connect Airpods to Laptop (Windows)?
If you have a MacBook Air that runs on OS X EL Captain, then you might want to upgrade to macOS Sierra. Only then will it successfully pair with your device. Otherwise, it will not. When you try to connect with Bluetooth, and it still does not connect, you can take the help of support.
You can make use of a guide to upgrade from your El Captain or older operating system to macOS Sierra. It is not difficult to do. Once you have upgraded, pairing your AirPods with your MacBook Air will become possible immediately without hassle.
James Smith has always been intrigued by electronic products since his childhood. After his post graduation in electronics from a popular university, he decided to pursue a career in the electronics sector. But his calling for writing about these marvellous pieces of work got the better of him. That is how UBG was started. With a writing career spanning more than 12 years, James has worked on several hundred product reviews. During his free time, he like to spend time with his pet dog and relax in the swimming pool.